

 Google Reviews
What homeowners are saying
Real feedback from recent renovation work.
★★★★★5.0/5 · 24 Google reviews
Showing reviews 1–3
Blog
A long-form planning guide for painting multiple rooms: what is included, sequencing, access, drying time, and how to keep daily life workable. Raleigh & Durham, NC.
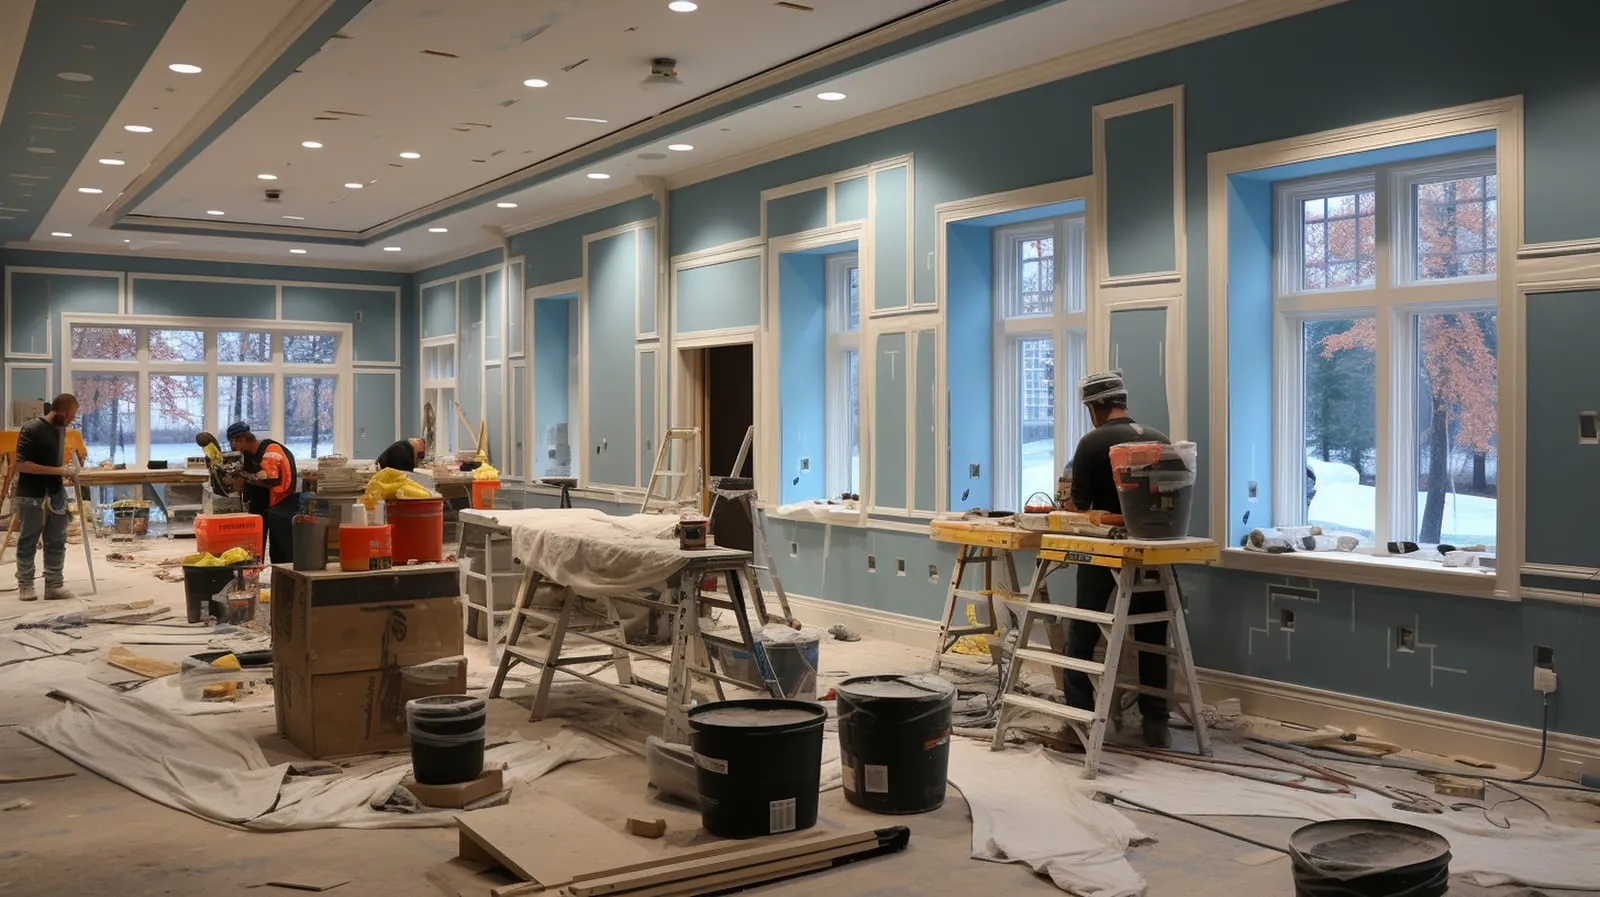
Painting a single room is straightforward. Painting multiple rooms (or a whole home) is a planning project. The biggest wins usually come from sequencing and clarity on what’s included: deciding what gets painted first, which spaces must stay functional, and how to keep progress moving without creating chaos.
This guide outlines a practical whole-home interior painting plan you can use whether you’re living in the home during the work or prepping for a move, listing photos, or a general refresh.
Make a quick list of every room and check what’s included:
This prevents assumptions and helps you prioritize.
If you want a checklist for the details that matter most, start here: Interior painting prep checklist.
Here are common sequencing approaches that work well:
Best for: wanting the home to feel improved quickly, and wanting the “most seen” spaces done early.
Best for: wanting rest zones finished early and minimizing disruption to sleep.
Best for: reducing foot traffic through freshly painted areas.
The best choice depends on how the home is used and which rooms must remain functional.
Most occupied-home plans revolve around these constraints:
If you plan those zones first, the rest of the schedule becomes easier.
Whole-home painting is easier when each day has a predictable start and end:
This is especially helpful for occupied homes with kids or pets, where keeping a predictable routine reduces stress.
Color complexity adds time because it adds:
A simple, cohesive plan often looks best and moves fastest:
If you’re choosing colors and want to reduce regret, use a lighting-based testing plan: How to choose paint colors with your lighting.
Sheen affects durability and how walls look in light. In whole-home projects, consistency helps:
This guide helps you choose sheen intentionally: Paint sheen guide.
Repairs are what separate “fresh paint” from “finished paint.” Plan for:
If repairs are significant, it may be worth scoping them clearly so timeline expectations match reality: Drywall service.
For each room, decide:
This avoids day-one chaos and keeps progress consistent.
If you want smoother days (and fewer last-minute decisions), these small steps help a lot:
These are simple, but they reduce downtime and keep each day focused on quality work instead of moving obstacles around.
A whole-home timeline typically includes:
If you want a clear explanation of dry time vs. cure time and how that affects room use, see: Interior painting timeline.
Instead of trying to paint every room at once, many whole-home projects go better in phases:
This approach also makes it easier to coordinate other work (floors, doors, cabinets) without repainting the same surfaces twice.
Whole-home painting often overlaps with:
Sequencing matters. For example:
If you’re coordinating multiple services, reviewing order of work helps keep the finish clean: Our process.
The fastest path to a clear quote is a clear description of what’s included:
This checklist makes it easy to send the right information: Quote request checklist.
Often yes, because it reduces the chance of paint drips on new flooring. But the best sequence depends on trim work, transitions, and how much floor work is happening.
Use a staged plan: keep one bathroom and one sleeping area available, and rotate through rooms in a predictable order.
Usually yes. It produces cleaner transitions and reduces “touch-up gaps” where the wall meets trim.
Pets add two practical needs: safe containment and clean paths. Plan a room or crate area away from active work, keep doors closed to painted rooms while coats are drying, and expect that hair and dust control are part of the process. If your home has a lot of pet traffic, choosing a phased plan (one or two rooms at a time) often keeps stress lower for everyone.
If a project includes sanding and repairs, filters can load up faster than usual. Using dust control helps, but it is still common to check filters during and after the work. Clean airflow helps comfort, helps drying, and keeps fine dust from circulating through the home.
If you have a deadline (move, guests, listing photos), share it early so the plan can be phased.
Tell us what you want to change and we will map out the work, price range, and next step.
Real feedback from recent renovation work.
William was an absolute pleasure to work with. He has great attention to detail and does very professional and clean work! He shows up on time and keeps his job site clean and organized. Can’t recommend him enough!
Rony Nasrallah • 2026-09-02
Kozub Remoldes LLC I highly recommend William Kozub. He spackled the sheet rock in a new bathroom and painted .He fixed 3 ceilings where drywall tape was separated and painted them. He was meticulous in his work and did a great job. He arrived on time each day and covered all the furniture and rugs before beginning work on a room. He covered each room with plastic and also the doorway so that dust didn’t escape. He cleaned up when he finished each room. He was concerned that I was satisfied and worked to make the job look great.
Alexis Maxwell • 2026-08-28
Very timely and great work for a good price. Also very clean work with great customer service. Highly recommend their work.
Гулноз Маллаева • 2026-08-27
Did a big 3500 sq ft house for me, bathroom, kitchen, hallway, and also painted outside front side of the house. Great work if I need anything else I will contact this company again.
Alyona Bondarenko • 2026-08-22
He did an amazing job. My new LVP looks wonderful!
A Andrews • 2026-07-15
Rating only. No written comment.
Mr_Roma _Voloshun • 2026-06-15
I highly recommend this contractor! They did an outstanding job remodeling my kitchen and bathroom, installing flooring and tile, and completing many other projects around my home. The quality of their work is excellent, and they pay close attention to every detail. They were professional, reliable, and easy to work with throughout the entire process. The project was completed on time, and the results exceeded my expectations. If you're looking for a contractor who takes pride in their craftsmanship and delivers high-quality work, I would definitely recommend them. Thank you for the fantastic job!
Vladimir Mishin • 2026-06-10
They came out and gave me a qoute fast and work was done quickly as well!
Jonathen Smith • 2026-06-09
very professional installation of subway tile on 2 bathroom floors. rapid response, speedy work but not sloppy. 100% happy with the job. patient and easy to work with.
Greg Burkett • 2026-06-05
William did a wonderful job painting our living room builtins. He was punctual and precise. The paint job is excellent and you would not know he was here when he left. We would definitely recommend!
Tonia Anderson • 2026-05-28
William is great! He did a very high quality job installing LVP floors throughout the first floor of my house in only one day at reasonable cost and I couldn’t be happier. He’s very diligent, respectful and showed up on time - very professional and easy to work with. I highly recommend his services! Thank you William!
Konstantin Shukhmin • 2026-05-21
William did an amazing job by doing a hardwood installation at our house was professional and he always keep our house clean and the results are amazing highly recommend his company to everyone
Alex Symkanych • 2026-05-20
William did an amazing job Very professional hardworking and the quality of the work was great.Everything turned out exactly how I wanted, and I would definitely recommend him to others.
samuel sharkadi • 2026-05-19
Super happy with how everything turned out. They did kitchen remodeling in my house and I am really satisfied, so the team was easy to work with, showed up on time, and did a really great job. Would definitely recommend!
Vlad Morzhul • 2026-05-18
I’m very satisfied with job of this company, he did bathroom remodel in my house, very high quality, and quickly, and everything around was clean and protected from dust, which I really liked. Communication was also at the highest level Thank you William so much for your efforts
Yevhen Smirnov • 2026-05-15
Great company, hardworking crew, and most of all Reliable and Professional.
Andrey Bondarenko • 2026-05-14
I want to thank this construction company for the excellent work! Everything was done with high quality, neatly, and within the promised timeframe. The team was very professional, always stayed in touch, and answered all our questions. You can tell they really know what they’re doing and take their work seriously. After the project was completed, everything was left clean and organized. I’m very happy with the result and can definitely recommend this company to others!
Рувім • 2026-05-13
Great work from a great young man he instilled my LVP flooring and painted the inside of my house
Roman Myname • 2026-05-10
“Great contractor, easy to work with and very professional. The work turned out amazing and everything was done on time. Highly recommend!”
Владік Лизанец • 2026-05-08
Excellent work and great experience overall! William was reliable, hardworking, and very skilled. Everything was completed neatly and with care, and the quality truly exceeded my expectations. I’m very grateful for the beautiful result and would happily recommend him to others.
Alex S. • 2026-05-07
I’m very happy with the work! He was professional, responsible, and paid attention to every detail. The renovation was done carefully and on time, and the final result looks great. I would definitely recommend
Julia Zhukova • 2026-05-07
Best company I’ve ever worked with. The quality of work is the best I’ve ever seen. On top of that William is a very good person to work with and be around. He always treats his clients with respect and is a joy to be around.I highly recommend kozub remodels if you need any remodeling work done in your house
Timofey Sharkadi • 2026-05-07
We wanted to add an additional room to a part of our house. William did a great job making what was essentially an attic into a room we could use. Highly recommend Kozub Remodels for any of your remodeling needs!
Miroslav Rad • 2026-05-05